To connect your Brother printer to WiFi, select the network from the printer’s menu and enter the password. Follow the on-screen prompts to complete the setup.
Connecting your Brother printer to WiFi enables wireless printing, which enhances convenience and efficiency. This process is straightforward and can be done in a few simple steps. Make sure your printer and WiFi router are turned on and within range.
Access the printer’s control panel and navigate to the network settings. Choose your WiFi network from the list and enter the password. Once connected, your printer will be ready for wireless printing. This setup eliminates the need for cumbersome cables and allows you to print from any device connected to the same network.
Introduction To Brother Printers And Wifi Connectivity
Brother printers are popular for their reliability and performance. Connecting them to WiFi allows for seamless and efficient printing. This guide will help you connect your Brother printer to WiFi easily.
The Importance Of Wireless Printing
Wireless printing is convenient and flexible. It eliminates the need for cables and allows printing from any device. This is especially useful in homes and offices with multiple devices. Wireless printing saves time and enhances productivity.
Brief Overview Of Brother Printers
Brother printers are known for their quality and durability. They offer a range of models for different needs. Some popular models include:
- Brother HL-L2350DW
- Brother MFC-J995DW
- Brother DCP-L2550DW
These models support WiFi connectivity, making them versatile. Below is a table summarizing some key features:
| Model | Type | WiFi Connectivity | Special Features |
|---|---|---|---|
| Brother HL-L2350DW | Laser | Yes | Duplex Printing |
| Brother MFC-J995DW | Inkjet | Yes | Inkvestment Tank |
| Brother DCP-L2550DW | Laser | Yes | All-in-One |
Credit: viableimaging.com
Preparation Before Setup
Before you connect your Brother printer to WiFi, proper preparation is key. Ensuring everything is in order will save time and avoid frustration. This section will guide you through the necessary steps to prepare for setting up your Brother printer.
Checking Printer Compatibility
First, make sure your Brother printer supports WiFi connections. Check the printer’s manual or the Brother website. If the printer has a WiFi logo, it supports wireless connections. Older models might not have WiFi capabilities.
Gathering Necessary Network Information
Next, gather the essential network details. You need your WiFi network name (SSID) and the WiFi password. If unsure, check your router or ask the person who set up your network. Write this information down to avoid mistakes during setup.
| Information Needed | Description |
|---|---|
| WiFi Network Name (SSID) | The name of your WiFi network |
| WiFi Password | The password for your WiFi network |
Some networks have security settings that might block new devices. Ensure you have access to adjust these settings if needed.
Step-by-step Guide To Connect Brother Printer To Wifi
Connecting your Brother printer to WiFi is simple. Follow these steps to start printing wirelessly. This guide will help you access the control panel, navigate to network settings, select the WiFi setup wizard, and enter your WiFi credentials.
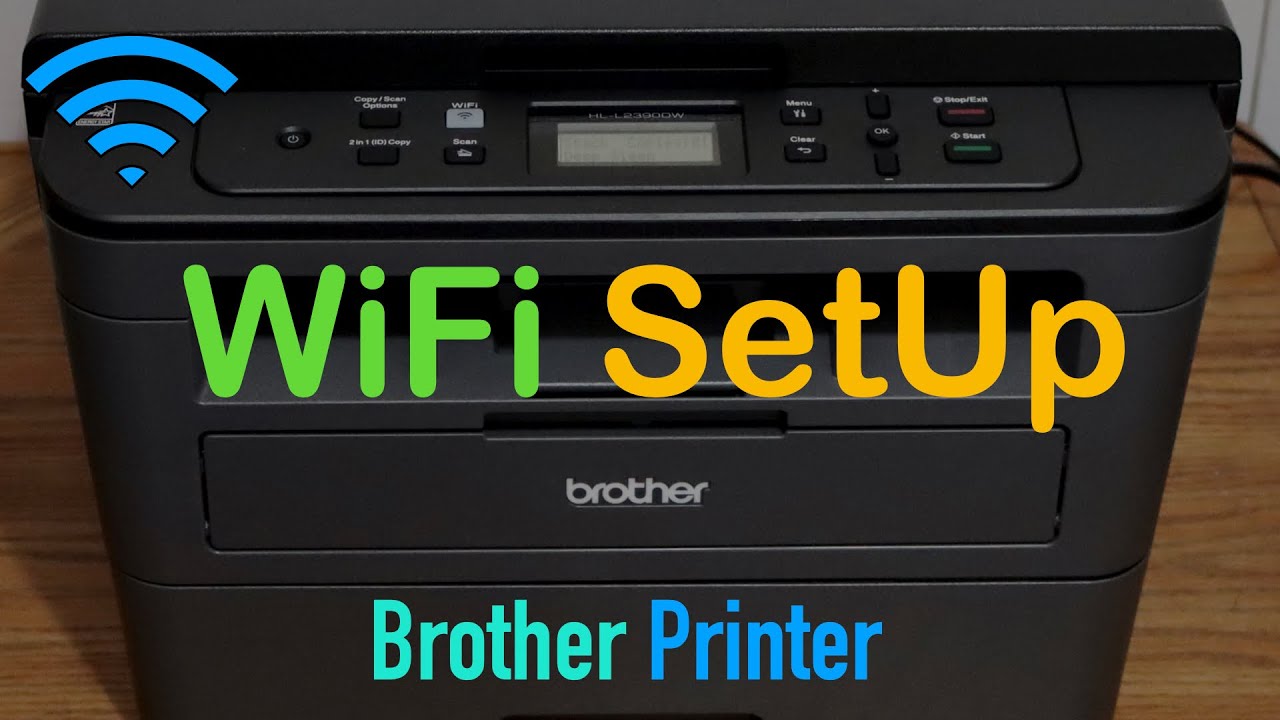
Accessing The Printer’s Control Panel
First, turn on your Brother printer. Ensure it is ready to use. Locate the control panel on the printer. This is where you will start the WiFi setup process.
Navigating To Network Settings
On the control panel, find the Menu button. Press it to enter the main menu. Use the arrow keys to scroll through the options. Look for the Network settings option. Select it by pressing the OK button.
Selecting The Wifi Setup Wizard
Within the Network settings, you will see various options. Scroll until you find the WLAN option. Select it by pressing OK. Next, find and select the Setup Wizard option. The printer will now search for available WiFi networks.
Entering Wifi Credentials
A list of available WiFi networks will appear. Use the arrow keys to find your network. Select your network by pressing OK. You will be prompted to enter your WiFi password. Use the keypad to type in your password carefully. Once entered, press OK to confirm.
Your Brother printer will now attempt to connect to your WiFi network. This may take a few moments. Once connected, a confirmation message will appear on the screen.
Troubleshooting Common Connection Issues
Connecting your Brother printer to WiFi can sometimes be tricky. These common issues can help you solve your connection problems. Follow these steps to get your printer back online.
Printer Not Finding The Network
If your Brother printer can’t find your network, check these points:
- Make sure your router is on and working.
- Ensure your printer is within range of the WiFi signal.
- Check that your network name (SSID) is correct.
- Ensure no other devices are interfering with the signal.
Here is a quick table to summarize these checks:
| Check | Details |
|---|---|
| Router Status | Ensure it is turned on and operational. |
| Printer Range | Keep the printer within the WiFi range. |
| SSID | Check if the network name is correct. |
| Interference | Remove devices that may cause signal issues. |
Incorrect Password Error
Incorrect passwords can stop your printer from connecting. Follow these tips:
- Double-check your WiFi password for typos.
- Ensure you are using the correct network password.
- Reset your WiFi password if needed.
Remember, the password is case-sensitive.
Connection Timeout And Its Solutions
A connection timeout can occur if the setup takes too long. Try these steps:
- Restart your router and printer.
- Move the printer closer to the router.
- Ensure no other devices are using too much bandwidth.
Following these steps can help you solve the connection timeout issue.
Confirming Successful Connection
After connecting your Brother printer to WiFi, it’s important to confirm the connection. This ensures that your printer is ready for use. Let’s look at two methods to verify the successful connection.
How To Check The Printer’s Network Status
First, check the printer’s network status. This will show if your printer is connected to the WiFi.
- Go to the printer’s control panel.
- Press the Menu button.
- Select Network settings.
- Choose WLAN.
- Click on TCP/IP.
- Look for the IP address. If it shows an IP, the connection is successful.
If the IP address is not displayed, the printer may not be connected. Try reconnecting to the WiFi.
Printing A Network Configuration Report
Another way to confirm the connection is by printing a network configuration report. This report provides detailed network information.
- Go to the printer’s control panel.
- Press the Menu button.
- Select Print Reports.
- Choose Network Configuration.
- Press the OK button to print the report.
Check the report for the following details:
| Detail | What It Shows |
|---|---|
| Connection Status | Should show “Connected”. |
| SSID | Should match your WiFi network name. |
| IP Address | Should display an IP address. |
If all the details are correct, your Brother printer is successfully connected to WiFi.
Credit: www.youtube.com
Advanced Tips For Smooth Wireless Printing
In this section, we will dive into advanced tips for smooth wireless printing with your Brother printer. These tips ensure a consistent and reliable connection to your WiFi network. Implementing these suggestions can significantly improve your printer’s performance and connectivity.
Setting A Static Ip For The Printer
Assigning a static IP address to your Brother printer can prevent connection issues. A static IP ensures that the printer’s IP address remains constant, making it easier for your devices to locate it on the network.
- Access your printer’s control panel and navigate to the network settings.
- Select TCP/IP and then choose the option to set a static IP.
- Enter an IP address that is outside the range of your router’s DHCP.
- Save the settings and restart your printer.
| Step | Action |
|---|---|
| 1 | Access control panel and navigate to network settings. |
| 2 | Select TCP/IP and choose static IP. |
| 3 | Enter an IP outside the router’s DHCP range. |
| 4 | Save settings and restart the printer. |
Updating Printer Firmware For Enhanced Connectivity
Updating your Brother printer’s firmware can improve wireless connectivity and add new features. Firmware updates fix bugs and enhance the printer’s performance.
- Visit the Brother Support website.
- Enter your printer model to find available firmware updates.
- Download the latest firmware file to your computer.
- Follow the instructions to install the firmware on your printer.
Regularly checking for firmware updates can keep your printer running smoothly. Always ensure your printer has the latest software to avoid connectivity issues.
Faqs On Connecting Brother Printer To Wifi
Connecting your Brother Printer to WiFi can sometimes be confusing. To help, we’ve compiled some frequently asked questions (FAQs). These will guide you through the process.
Can I Connect The Printer Without A Wps Button?
Yes, you can connect your Brother Printer without a WPS button. Follow these steps:
- Press the Menu button on your printer.
- Use the arrow keys to navigate to Network and press OK.
- Select WLAN and press OK.
- Choose Setup Wizard and press OK.
- The printer will search for available networks. Select your WiFi network.
- Enter your WiFi password using the keypad.
- Press OK to confirm. Your printer will connect to the WiFi network.
How To Reconnect The Printer After Changing The Router?
If you’ve changed your router, you’ll need to reconnect your printer to the new network. Follow these steps:
- Press the Menu button on your printer.
- Navigate to Network and press OK.
- Select WLAN and press OK.
- Choose Setup Wizard and press OK.
- The printer will search for available networks. Select your new WiFi network.
- Enter the new WiFi password using the keypad.
- Press OK to confirm. Your printer will reconnect to the WiFi network.
By following these steps, you can easily connect your Brother Printer to WiFi. If you still face issues, consult the Brother Printer manual or visit their support page.
Credit: medium.com
Frequently Asked Questions
How Do I Connect My Brother Printer To Wifi?
To connect your Brother printer to WiFi, access the printer’s control panel. Navigate to the network settings, select your WiFi network, and enter the password.
Why Is My Brother Printer Not Connecting To Wifi?
Ensure your WiFi network is functioning properly. Check if the printer and router are within range. Restart both devices and try reconnecting.
Can I Connect My Brother Printer To Wifi Without A Computer?
Yes, you can connect your Brother printer to WiFi using its control panel. Follow the on-screen instructions to connect.
How Do I Find The Wifi Password For My Brother Printer?
Your Brother printer uses your WiFi network password. Check your router for the default password or contact your ISP for assistance.
Conclusion
Connecting your Brother printer to WiFi enhances productivity and convenience. Follow the steps outlined for a seamless setup. Ensure your network details are handy. Troubleshoot any issues promptly for uninterrupted printing. Enjoy wireless printing effortlessly with your Brother printer. Stay connected and make the most of your device’s capabilities.
Leave a Reply
You must be logged in to post a comment.